> For the complete documentation index, see [llms.txt](https://boxlang.ortusbooks.com/llms.txt). Markdown versions of documentation pages are available by appending `.md` to page URLs; this page is available as [Markdown](https://boxlang.ortusbooks.com/getting-started/ide-tooling/boxlang-debugger/commandbox-debugging.md).
# CommandBox Debugging
Debugging a CommandBox BoxLang Server
So you’ve installed [CommandBox](/getting-started/running-boxlang/commandbox.md) and are running the latest BoxLang server like a boss. You open up your browser and are met with an error message. This looks like a job for, you guessed it, the BoxLang VS Code Debugger!
## Hooking VS Code Up To Your Server
Connecting your debugger to an external may seem intimidating but CommandBox + VS Code makes this pretty straightforward.
### Configuring CommandBox
To start we will need to make sure our server is configured properly. You can do this one of two ways.
1. We can add `JVMArgs` to the CLI when starting a BoxLang CommandBox server:
```bash
server start cfengine=boxlang
javaVersion=openjdk21_jre
JVMArgs='-agentlib:jdwp=transport=dt_socket,server=y,suspend=n,address=8888'
```
2. The alternative approach is to add some configuration to our `server.json` definition:
```json
{
"JVM": {
"args": "-agentlib:jdwp=transport=dt_socket,server=y,suspend=n,address=8888",
"javaVersion": "openjdk21_jre"
}
}
```
In these examples I’ve used port `8888` as the port we want the debugger to connect to control the CommandBox server through. You can specify whatever open port you want. You just need to make sure that you use the same one at every step.
Once you start your server it should run as normal.
### Configuring VS Code
Now that your server is configured, we need to setup VS Code. We will need to update your `.vscode/launch.json`. If you don’t see this file, you can create it yourself and VS Code will pick it up.
We want the `launch.json` to look something like this:
```json
{
"configurations": [
{
"name": "Debug CommandBox",
"type": "boxlang",
"request": "attach",
// make sure this is the same value you configured your server with
"serverPort": "8888",
"program": "${workspaceFolder}"
}
]
}
```
That's it. Now VSCode will know to what port to connect to your debugger running inside of CommandBox.
### Starting a Debug Session
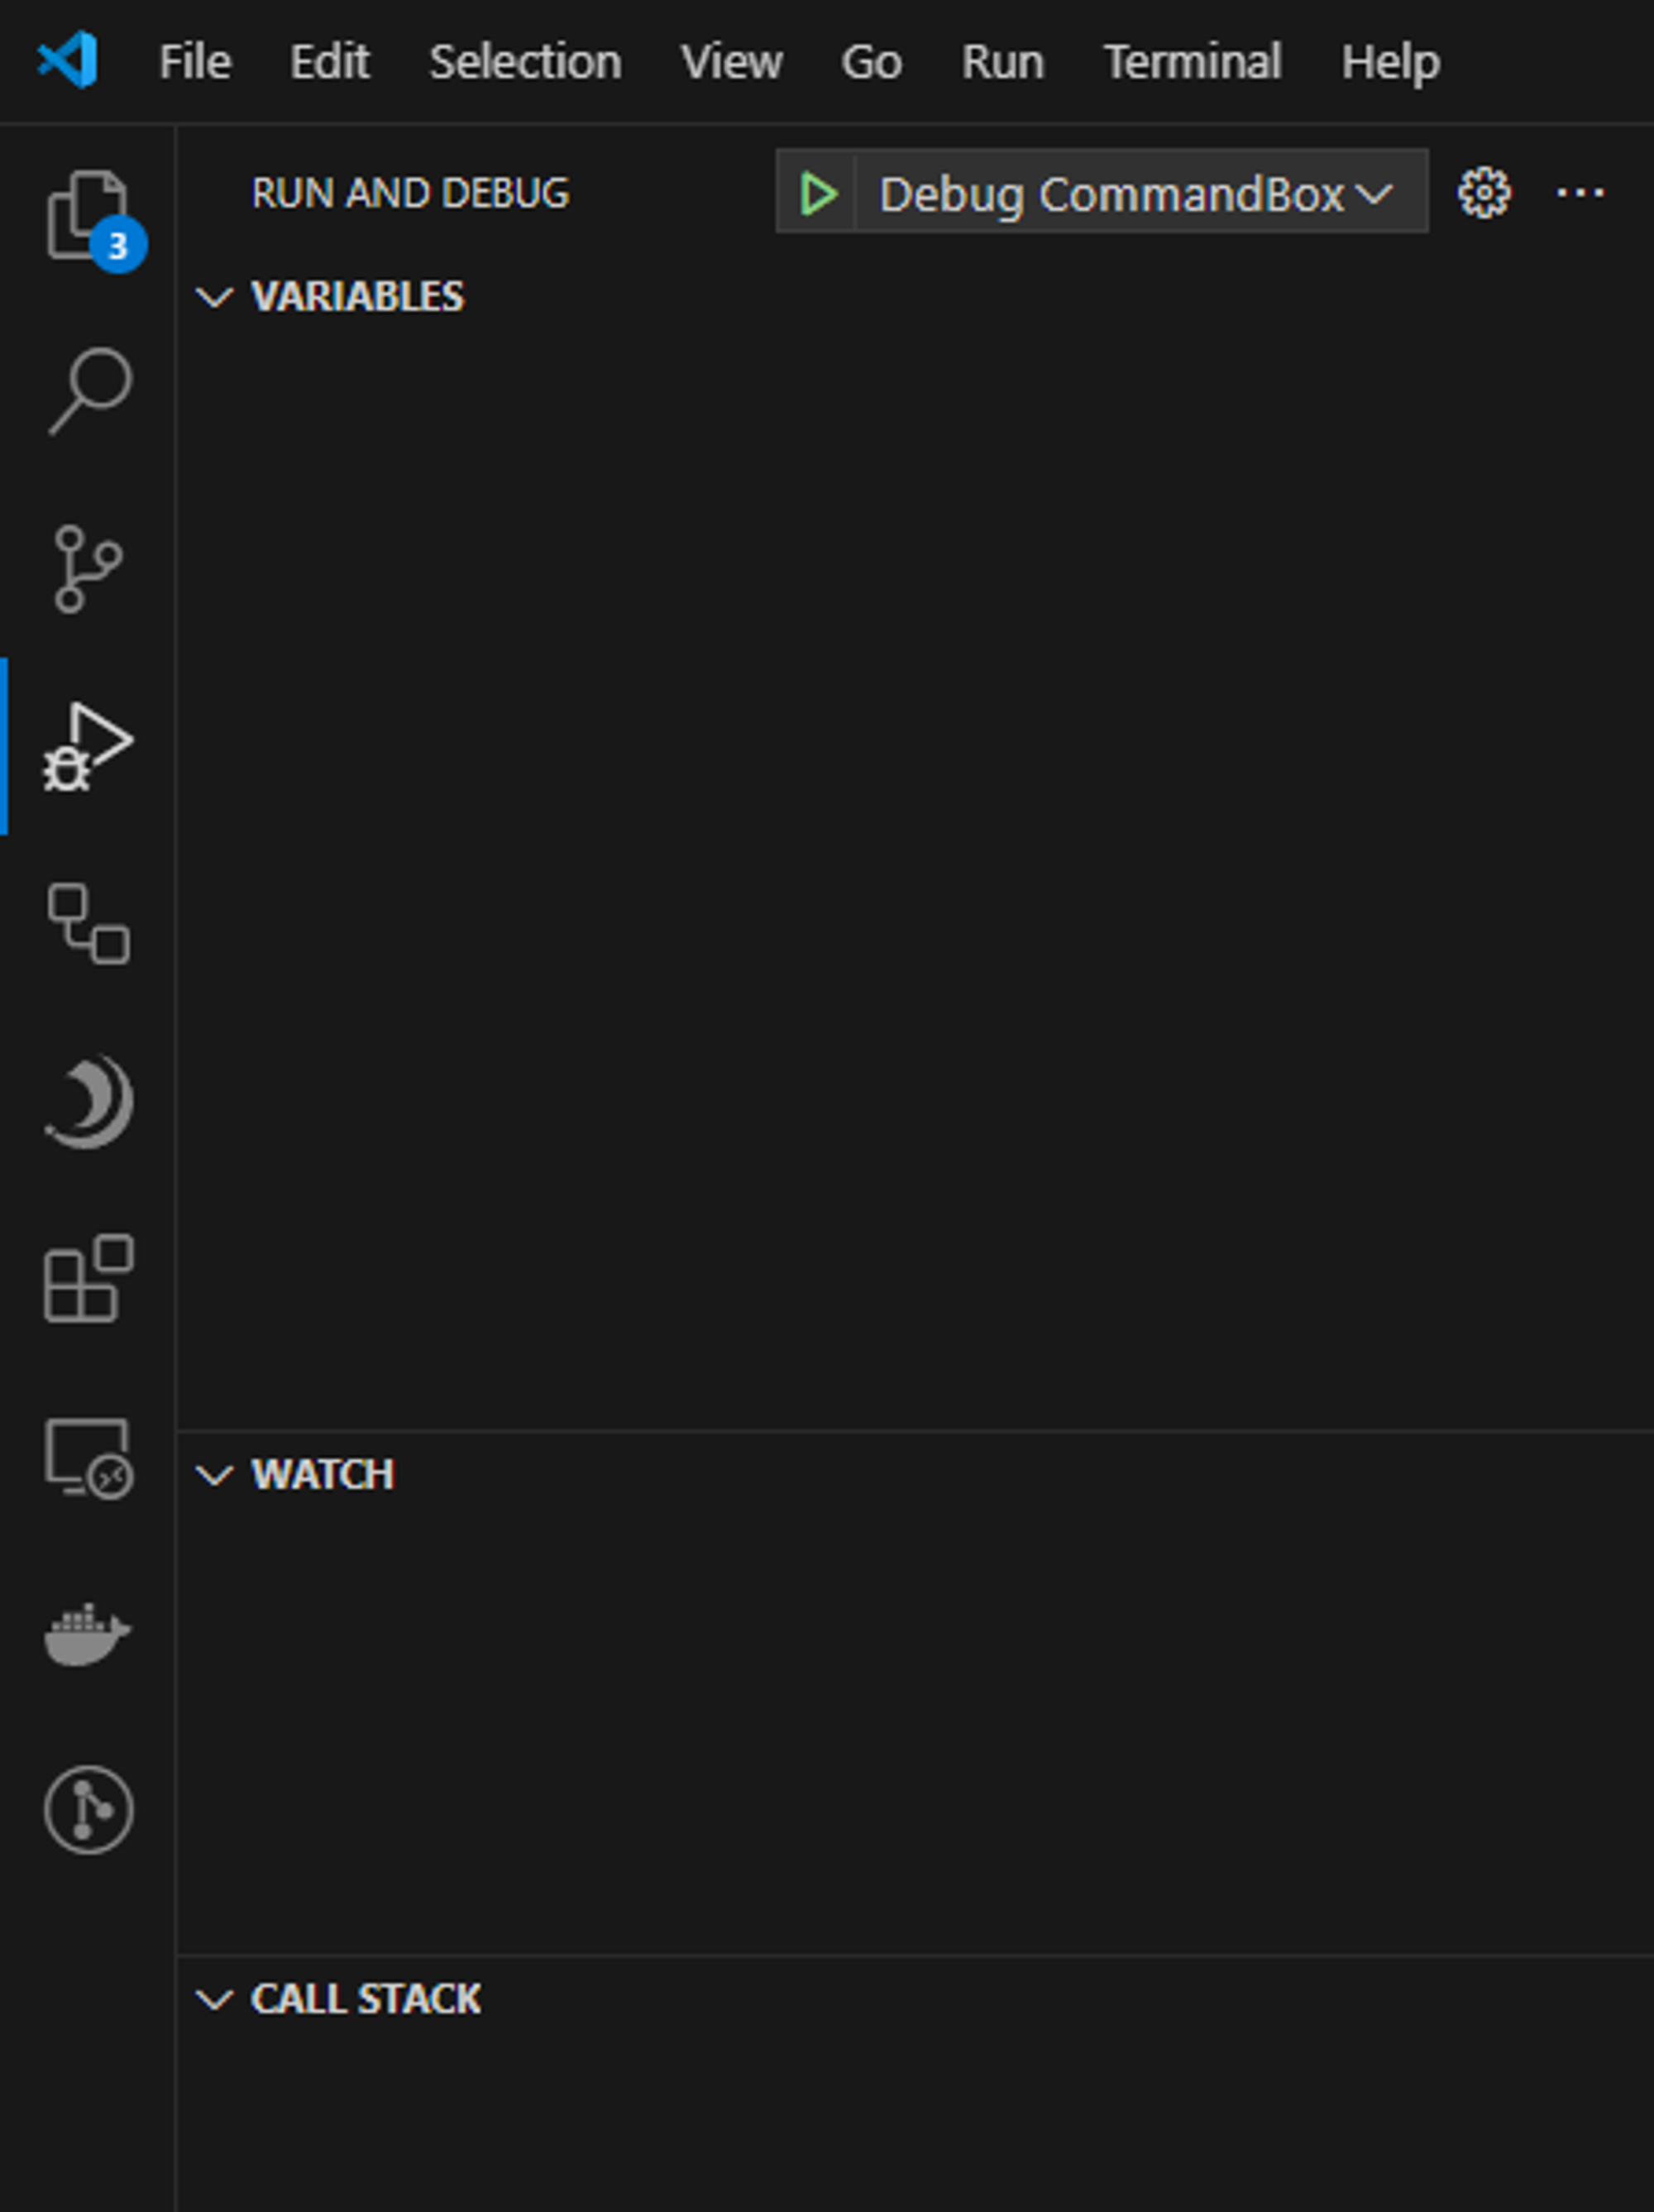
At this point your server is configured, it’s running, and you have just added a launch configuration. The next step is to run the debugger. All we need to do is open up the debug tab in our side-panel and select the correct configuration, which is the one we just added `Debug CommandBox`
Now that we have everything setup all we need to do is press “play” or hit `f5` and VS Code will fire up the BoxLang debugger and attach to your BoxLang server. That's it! Go add some breakpoints, go create some bugs and then fix them!
---
# Agent Instructions
This documentation is published with GitBook. GitBook is the documentation platform designed so that both humans and AI agents can read, navigate, and reason over technical content effectively. Learn more at gitbook.com.
## Querying This Documentation
If you need additional information that is not directly available in this page, you can query the documentation by asking a question.
Perform an HTTP GET request on the following URL with the `ask` and `goal` query parameters:
```
GET https://boxlang.ortusbooks.com/getting-started/ide-tooling/boxlang-debugger/commandbox-debugging.md?ask=&goal=
```
`ask` is the immediate question: it should be specific, self-contained, and written in natural language.
`goal` is what the user is ultimately trying to achieve, the reason they need the answer. Sharing it helps GitBook give you a better, more relevant answer. A goal is most helpful when it describes the outcome the user wants rather than restating the question. For example, with `ask=how do I create an API token`, a goal like `automate deployments from our CI pipeline` lets GitBook tailor the answer to that use case.
The response will contain a direct answer to the question and relevant excerpts and sources from the documentation.
Use this mechanism when the answer is not explicitly present in the current page, you need clarification or additional context, or you want to retrieve related documentation sections.